

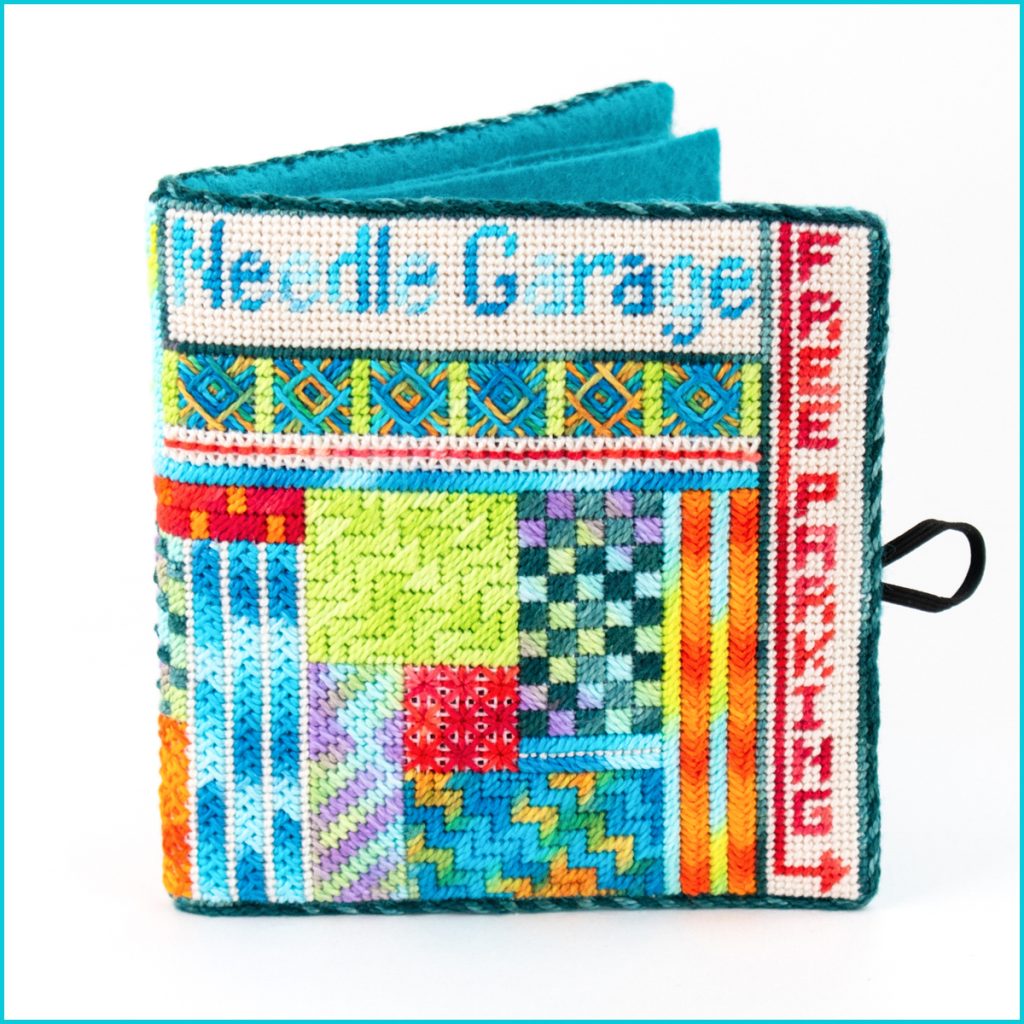
Have you ever looked at a beautiful needlework project and wished you could instantly skip past the stress of shopping for supplies and get straight to the relaxing rhythm of stitching? For many of us, we have plenty of creative energy, but zero patience for the challenge that comes with hunting down matching threads and second-guessing colour choices in a shop. Needlepoint should be a joyful retreat, not a confusing logistics puzzle.
Hopefully this blog post will simplify the process by showing you how modern, pre-curated kits can clear away the clutter. You will discover how simple geometric patterns and hand-dyed variegated threads fit together perfectly, allowing you to create vibrant projects, right from your very first stitch.
Quick Takeaways
- Minimize the Challenge: Curated custom kits eliminate the stress of matching fibers, weights, and canvases yourself.
- The Geometric Advantage: Counted canvas work provides a logical, highly rewarding entry point for beginners.
- Effortless Artistry: Using Colour Complements variegated threads results in creating shading and texture for you
The Basics of Needlepoint for Beginners: Finding Your Footing
Unlike traditional painted needlepoint, where you follow a design painted directly onto the fabric, counted canvas needlepoint uses a clean, unpainted canvas alongside a clear, step-by-step printed chart showing you how and where to stitch. Follow this chart and count the mesh intersections to create beautiful geometric shapes.
To get you started, you only need to understand three basic elements:
- The Canvas: Your woven fabric foundation. For beginners, my preference is 18-count Mono canvas which is available in most needlework shops or online
- The Tapestry Needle: A needle with a blunt tip that slips smoothly through the open holes of the canvas without splitting the background threads.
- The Skein: A tidy bundle of thread waiting to be cut into comfortable stitching lengths.
Once you have your materials, you only need to master two foundational stitches to complete almost any beginner project. The first is the Continental Stitch, which moves horizontally or vertically across your row, creating a smooth line. The second is the Basketweave Stitch, which you work diagonally across the canvas grid.
If you want to view clear, step-by-step diagrams of these stitches, the American Needlepoint Guild offers excellent, free educational diagrams specifically designed for new stitchers.
Using Geometric Designs and Variegated Thread
Every stitcher has a “threshold project,” that one piece of work that completely changes their creative direction. For me, I was inspired by Laura Perrin’s “Starry Night”. It was one of the first counted canvas projects I stitched, and the first where I dyed a full custom palette.
For a beginner just getting started with needlepoint, geometric designs are an absolute dream. Because the patterns are based on logical repetition and counting, you can quickly adapt to a rhythm in stitching. These projects are wonderfully fun and fast to complete. If you can count, you can stitch!
When you match these geometric shapes with hand-dyed variegated thread, a little bit of magic happens on the canvas. Because the thread changes colour organically every fraction of an inch, you don’t have to constantly stop and change your needle to get an artistic look.
As you work with your repeating geometric shapes, the shifting colours automatically build a beautiful sense of movement and shadow right into the design.
The Luxury of Curated Custom Thread Kits
One of the greatest hurdles for any beginner stitcher is choosing a project! I know many of you are at a loss when standing in front of a massive wall of threads attempting to guess which colours and threads would work.
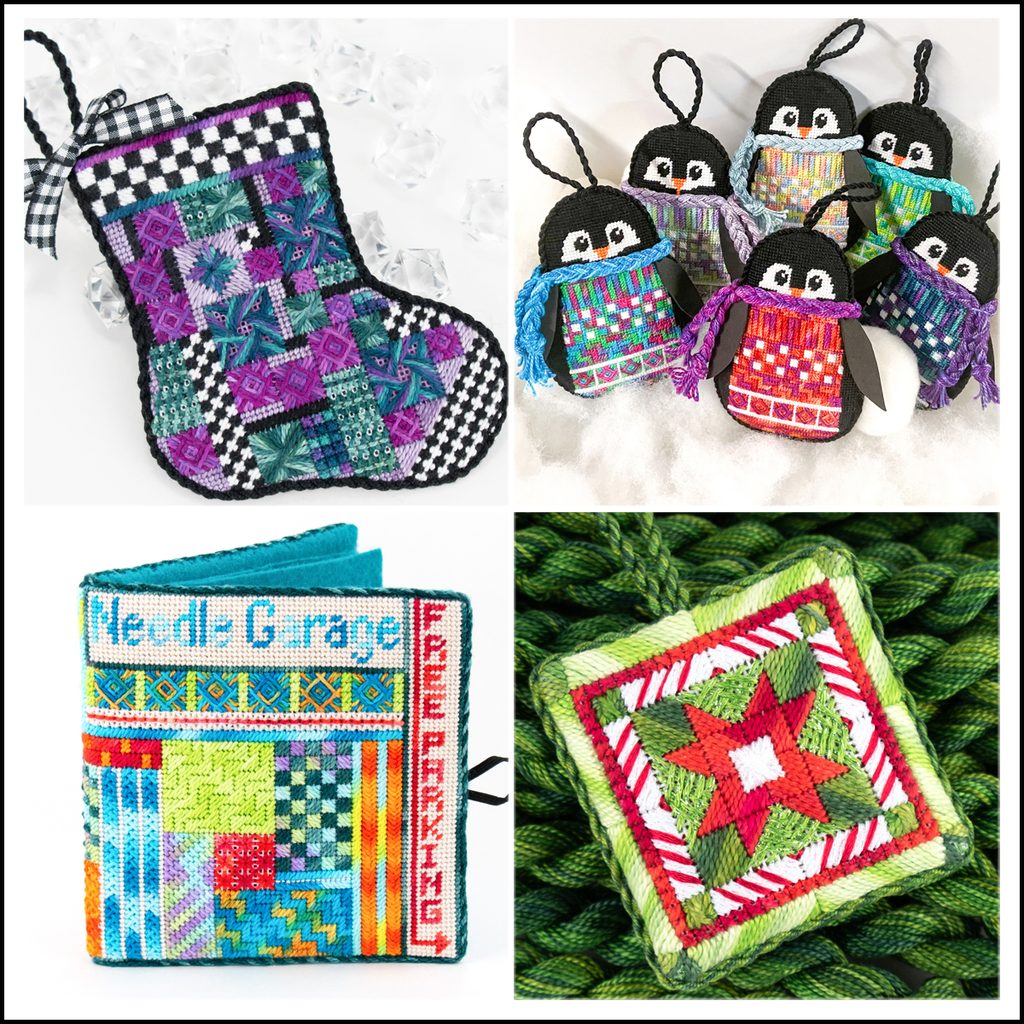
Our curated custom thread kits collection is designed specifically to take all that stress away. Each kit features a collection of small-batch hand-dyed perle cotton or floss, paired with distinct counted canvas patterns designed by a selection of designers and myself.


