Every needle worker has a moment when they fall in love with a stunning skein of multi-coloured thread, online or at a local shop. But often, after we bring that thread home and start stitching, the result is not what we expected. Instead of looking artful and blended, the colours can give the appearance of distracting stripes.
If you have felt that creative disappointment, once you learn a few simple secrets to reading your skein and choosing the right stitch path, working with these shifting colours becomes relaxing. Rather than fighting the colour changes, use these tips to let the thread create realistic depth, soft shadows and a painterly blend of colours.
Key Takeaways
- The Artisan Edge: Why Colour Complements short-run hand-dyed threads blend more softly than machine over-dyes
- The Right Stitch: The difference between Continental and Basketweave stitches can influence whether your colours flow like brushstrokes or scatter like a mosaic.
- Mastering the Flow: Simple techniques like Directional Shading, Mosaic Fill, and Colour Zoning to give you absolute aesthetic control over your design.
The Artisan Difference: Hand-Dyed vs. Machine Over-Dyed
If you have stepped into any needlework store, you have likely run your fingers across rows variegated dyed threads. In the needlework world, these are referred to as “over-dyed” or “variegated” threads which indicate multiple colours are blended along a single length of thread.
If you want achieve the appearance of a custom painting rather than a grid in your needlework, it helps if you understand a little about how threads are dyed.
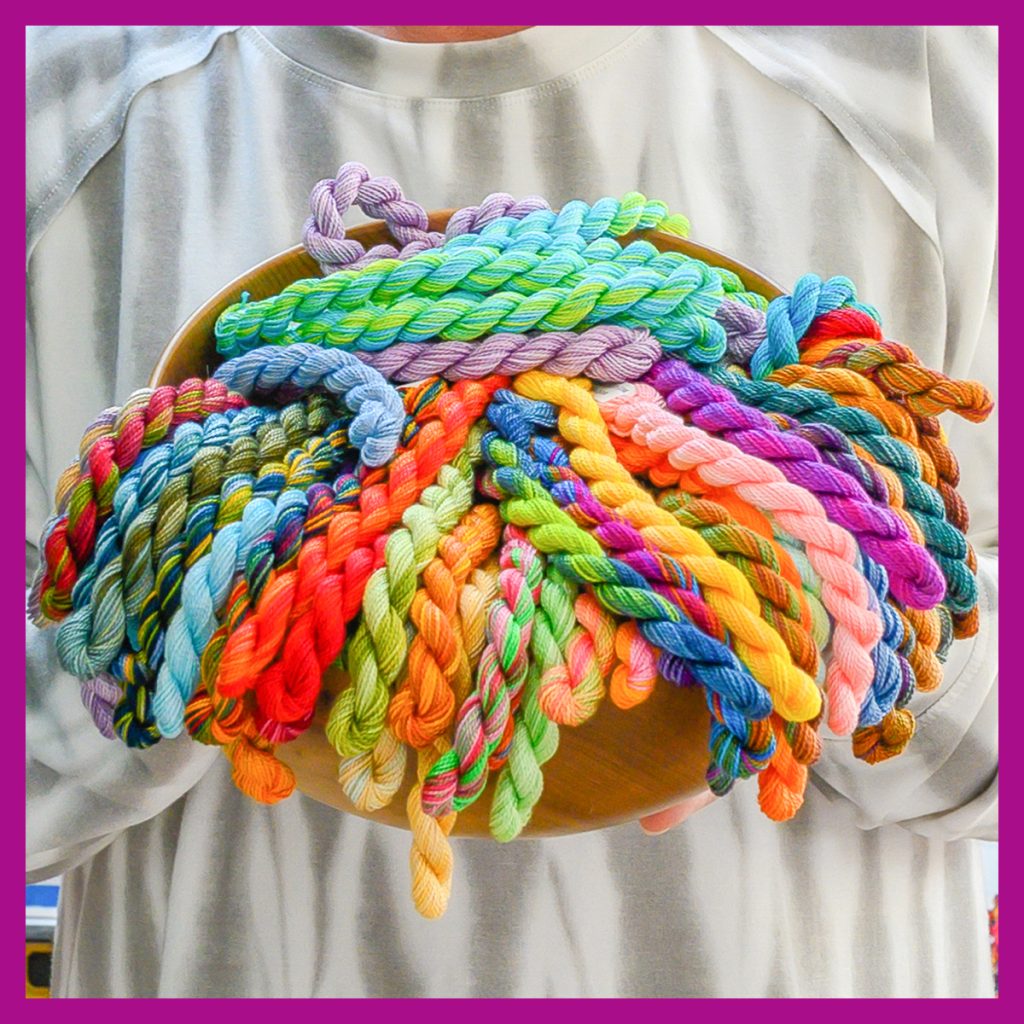
Whenever I start my dyeing process or select a colour from the drying racks, I am reminded of the magic in visualizing the unfolding landscape of colours. When you look at an artisan skein, you are looking at an artist’s palette ready to create a natural harmony of colours in your stitching.
Colour Runs
Most commercial manufacturers dye variegated threads using automated machines. These machines are programmed to inject dyes at precise, predictable intervals, usually creating uniform stripes of colour spaced evenly apart.
Because the colour placement changes at the same interval repeatedly, the same shades can stack directly on top of each other as you work your rows of stitches. Instead of a shaded landscape, you may see distracting blocks of colour that break up the design versus blending.
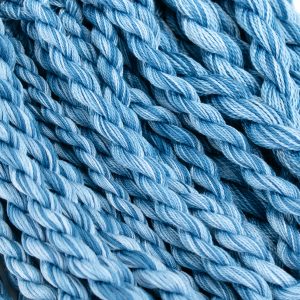
Hand-dyeing is generally completed in smaller batches and each dyer “paints” or “dyes” their fibers. Colour runs are variable meaning they are more randomly placed. I tend to dye all my colour combinations with shorter colour runs. Because the different dye colours are placed close to one another at varying intervals, transitions of colour blend creating additional colours. For example, when blue and yellow dyes meet on a skein of Colour Complements thread, they gently bleed into one another, creating a soft blend of natural green on the threads.
Reading the Skein: Floss vs. Perle Cotton
Before your first stitch, learn how to visualize your thread. Knowing how to use variegated thread across different fibers prevents unwanted surprises and keeps your creative time stress-free.
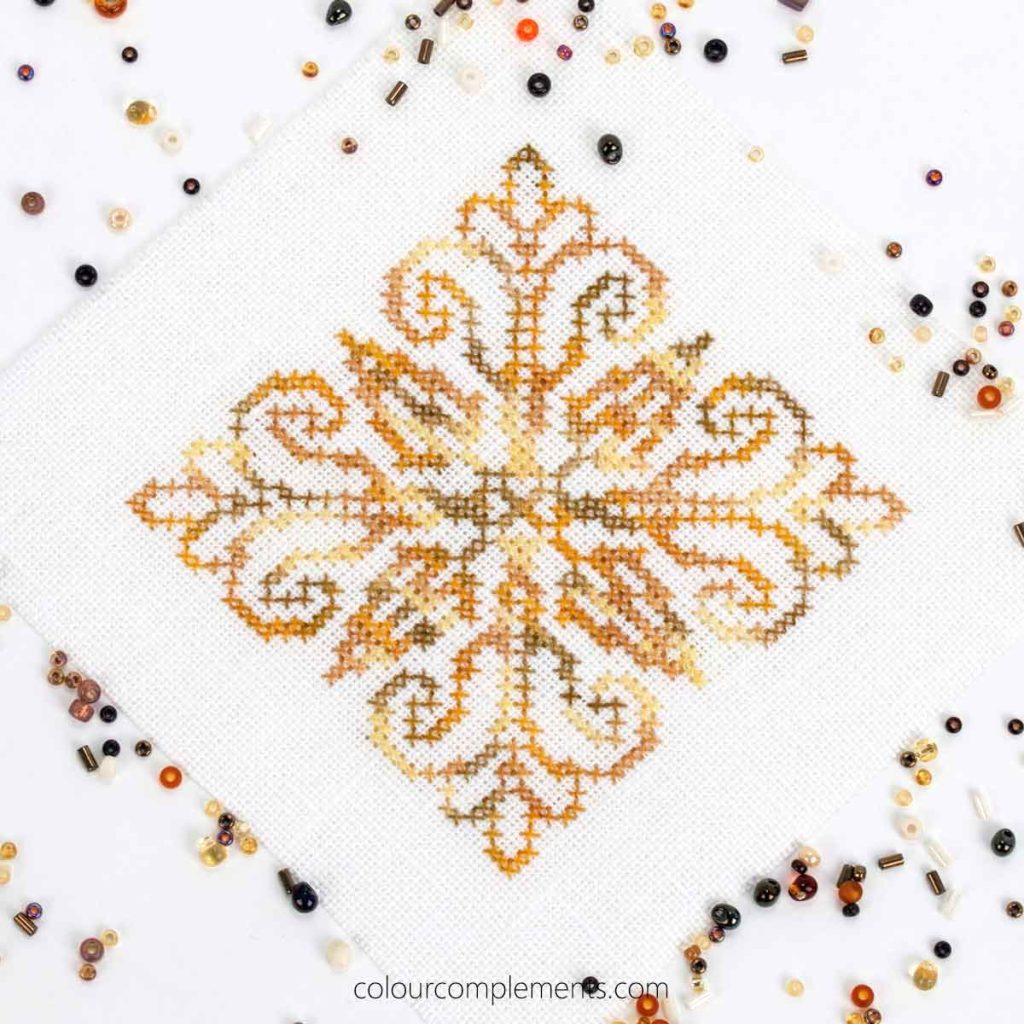
Stranded Cotton Floss (6-Strand)
Stranded embroidery floss offers flexibility. Because the six individual strands can be separated, you have complete control over the colour intensity and how the shades blend on your canvas.
- The Stripping Technique: Separate your strands individually before recombining them to stitch. This relaxes the fiber and enhances the cotton’s light-reflective quality.
- The Reversal Trick: If a colour transition feels too abrupt for a delicate area like a flower petal or a distant hill, try separating your strands and reversing one end to end before threading your needle. This trick fragments the colour run, scattering the tones into a softer, feathered effect.
Perle Cotton (Sizes 5, 8 and 12)
Unlike stranded floss, Perle cotton is a single, non-divisible thread with a distinct twisted texture. Because you cannot separate the strands, the variegation tracks exactly as it was dyed in the pot.
- Texture Meets colour: The high sheen and twisted structure of Perle cotton interact beautifully with variegated dyes. The twist catches the light, making short colour runs look highly dimensional.
- Size Matters: A thicker Perle 5 displays colour shifts across fewer stitches, making it ideal for bold, high-contrast texturing. A finer Perle 8 and 12 creates a tighter, more delicate shift, perfect for intricate details.
To unlock the painterly potential of hand-dyed fibres, you must master two foundational principles that dictate how moving colour settles into canvas mesh.
- The “Complete-as-You-Go” Golden Rule: When working with solid-coloured threads, many stitchers prefer long, sweeping rows of half-stitches, turning around to complete crosses on a return pass. I’d recommending not always doing this with a variegated thread. To allow the thread transition naturally, complete each stitch entirely before moving to the next.
- Continental vs. Basketweave: How you move your needle across the canvas dictates whether your thread looks like smooth watercolour brushstrokes or a rich, texturized tweed.
– Continental Stitch: Because this stitch is worked in straightforward horizontal or vertical rows, it allows the variegated thread to track linearly. The colours flow smoothly from one shade into the next along a clear path, mimicking the fluid sweep of a paintbrush.
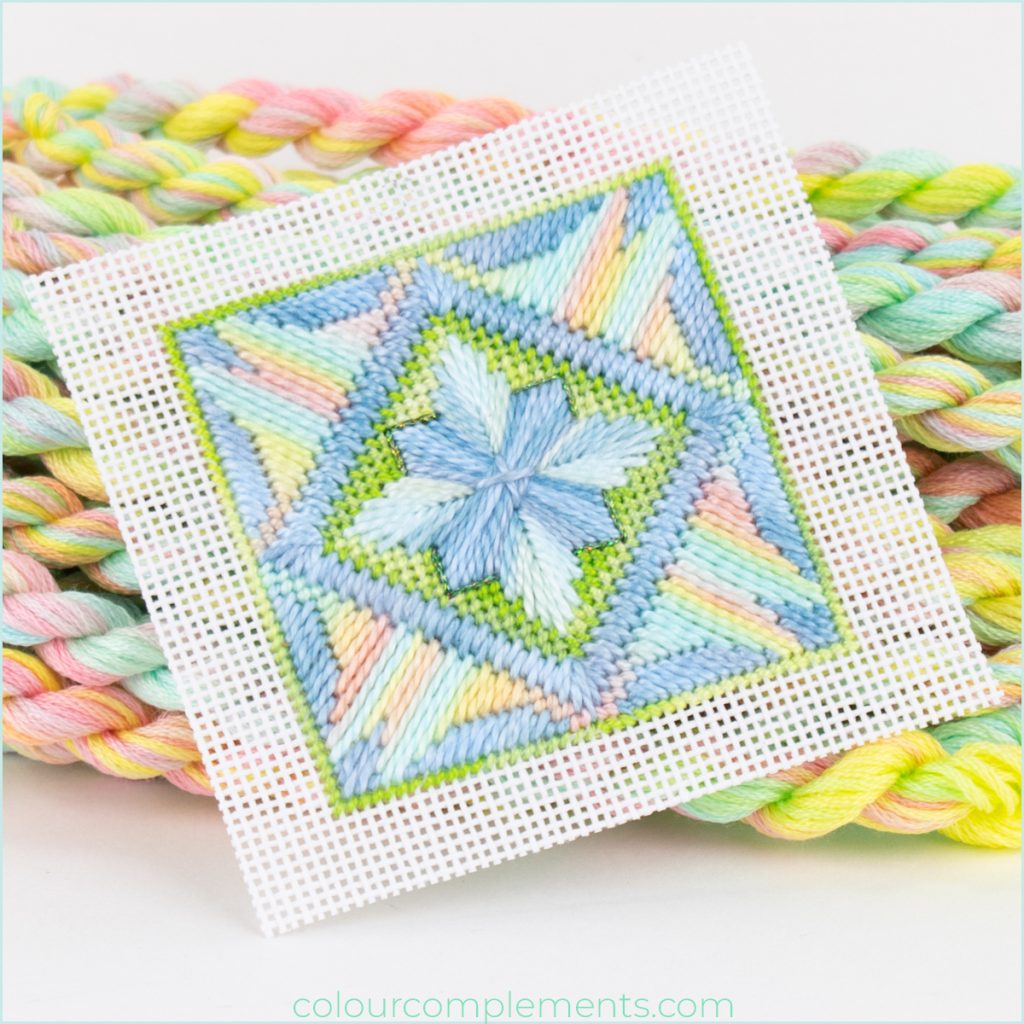
– Basketweave: While the Continental stitch is great for linear colour transitions, it can warp your canvas if you aren’t careful with tension. Basketweave stitch is worked diagonally in alternating “up and down” steps. Because you weave across diagonal rows, basketweave scatters the short colour runs, breaking up the linear flow. This blends the shades into a beautiful, non-directional mosaic pattern as demonstrated in the sample below.
For a deeper look into the structural mechanics of stitch tension, canvas distortion, and why basketweave provides a sturdier structural backing for family heirlooms than basic tent stitches, consult the comprehensive educational resources and stitch libraries maintained by the American Needlepoint Guild.
Advanced Painterly Control: 4 Master Techniques
Once you understand the foundations of using variegated thread, you can begin manipulating it to achieve specific artistic goals. Here are four techniques to give you complete creative control over your canvas.
Technique A: Giving Stitches a Direction (Contour Stitching)
Do not feel chained to standard left-to-right stitching grids. If you are filling an organic shape like a round pumpkin, winding river, or blowing leaf, alter your stitching path to match the contours. By stitching radially or in curves, the short colour runs of your hand-dyed thread will follow the natural growth lines, creating the illusion of 3D volume and movement.
Technique B: Randomly Filling an Area (The Mosaic Trick)
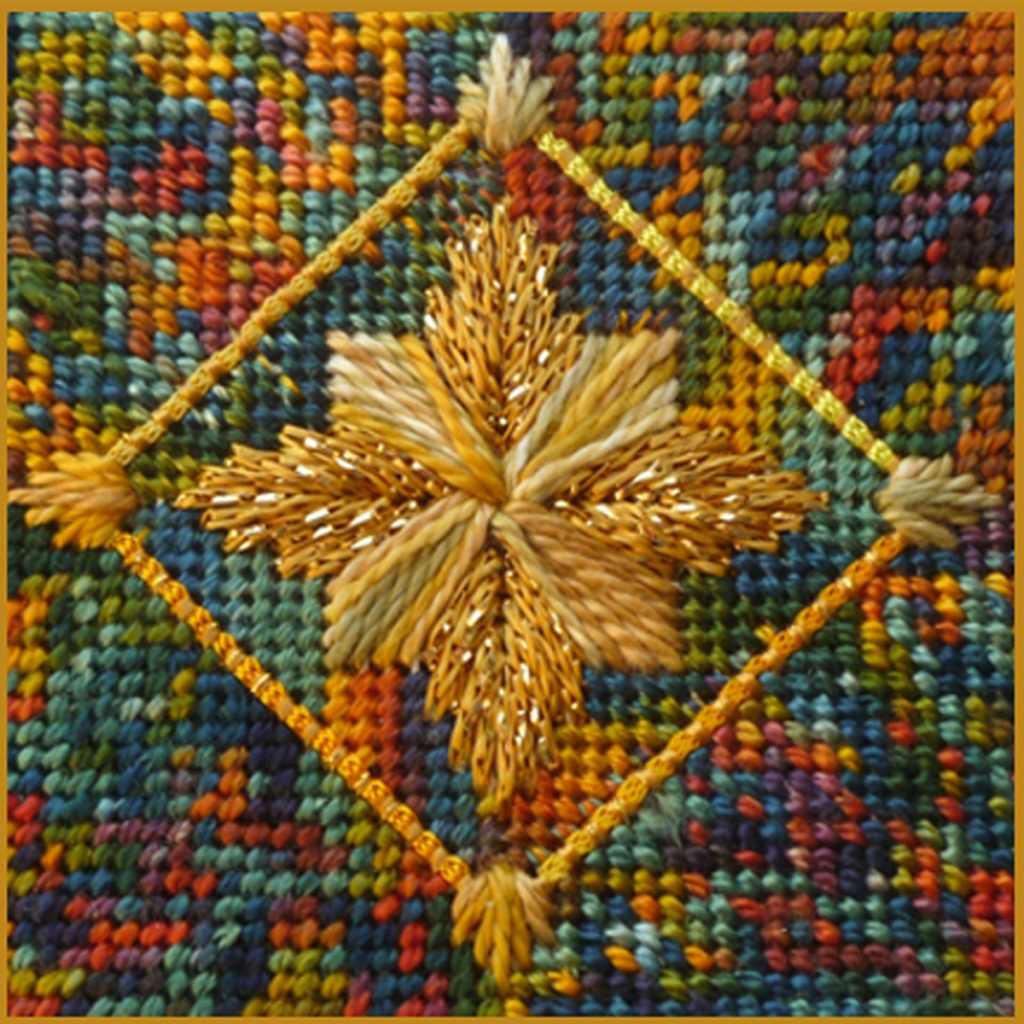
If you want to eliminate any chance of accidental colour stacking in a large background, step away from traditional rigid rows by using a relaxed “scattered” technique. Use a non-linear approach: skip around an area, placing a few stitches here and there, then go back to fill in the blank canvas. This randomizes where the thread’s colour changes land, resulting in a texturized, organic background that requires no stress or overthinking.
Technique C: Controlling Colour Using “Zones”
Think of your strand of thread as a physical paint palette. If you draw a length and notice it contains a deep indigo zone, a soft sky blue zone, and a tiny sliver of cream highlight, you do not have to use them continuously. Snip out the deep indigo sections to stitch exclusively along the cloud’s bottom shadow, and reserve the cream and soft blue sections for the sunlit top. This is sometimes referred to as “fussy cutting”.
Differention In Dye Lots
Because Colour Complements threads are hand-dyed in small batches, no two dye lots are identical. Subtle variations in colour saturation in hand-dyes are their appeal. Keep some of these tips in mind when stitching:
- Buy 20% More: Purchase slightly more thread than your pattern estimates to ensure you don’t run out.
- The Alternating Method: If you have different dye lots mid-project, stitch alternating rows using a strand from the old skein and one from the new, creating seamless colour variations
- The Palette Test: Stitch a small sample swatch on a scrap corner of your canvas to preview the transition before committing to your project.
Trust the Thread, Unwind and Stitch
When you stop fighting the colour transitions and start directing them, your canvas transitions from a standard needlework project into a rich, distinctive piece of fibre art. Look at your next project canvas. Identify organic areas that are practically begging for the depth of hand-dyed shading. Once you have, I encourage you to visit our curated collection of artisan, hand-dyed threads and no-fuss kits to find the perfect colour combination!